How to Train Your Dragon Themed Birthday Cake Ideas!
Swooping Over Berk with Sweetness: When the islands of Berk first graced our screens with its fearless Vikings and awe-inspiring dragons, we were instantly captivated.
Hiccup, Toothless, and their band of dragon riders not only took us on thrilling adventures across the skies but also into a world where the bond between humans and creatures is celebrated with heartwarming depth. And what better way to commemorate such cherished tales than by blending them into our real-world celebrations?
If you, like many of us, have been enchanted by the “How To Train Your Dragon” series and are eager to bring a slice of Berk to your next birthday celebration, then you’re in for a treat!
Dive into our top ten “How To Train Your Dragon” themed birthday cake ideas and let your party soar to new heights of delicious delight.
How to Train Your Dragon Themed Birthday Cakes
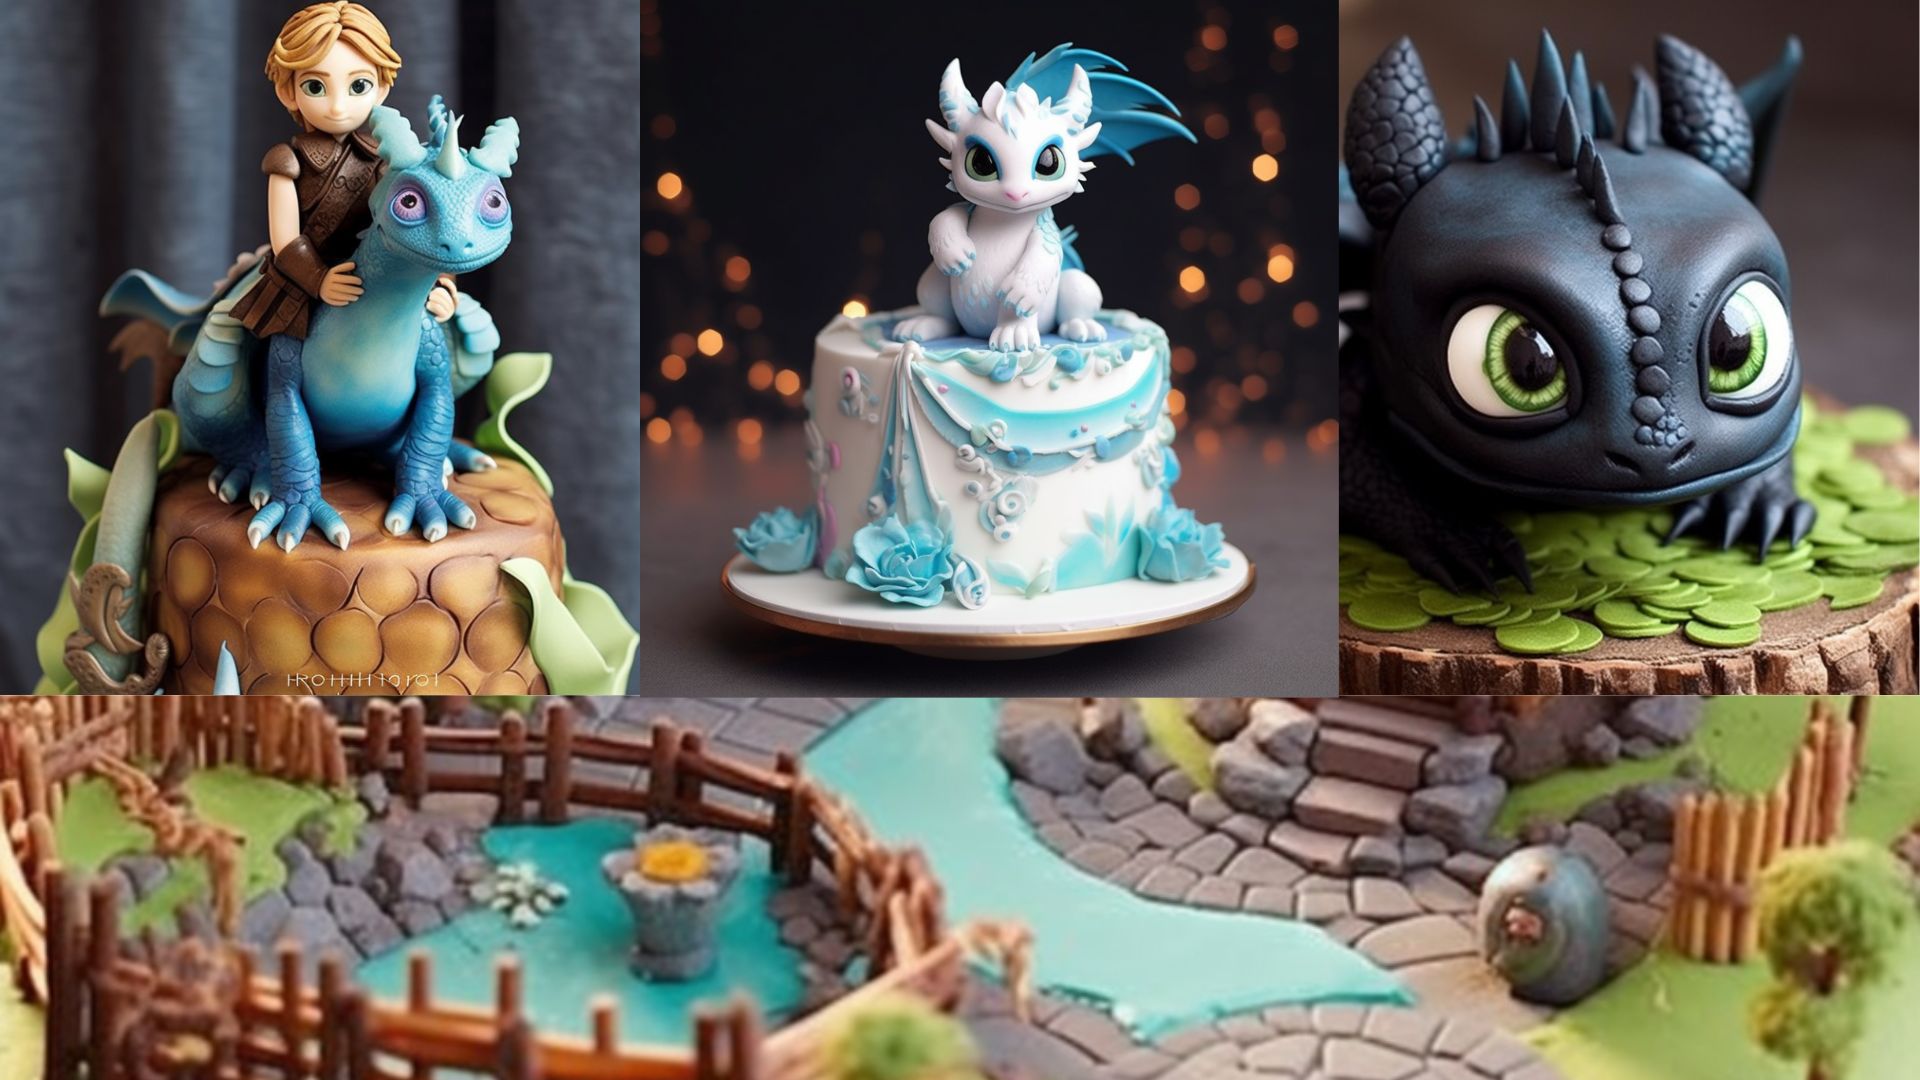
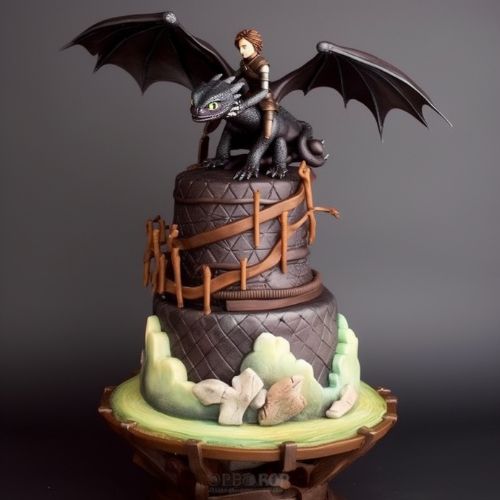
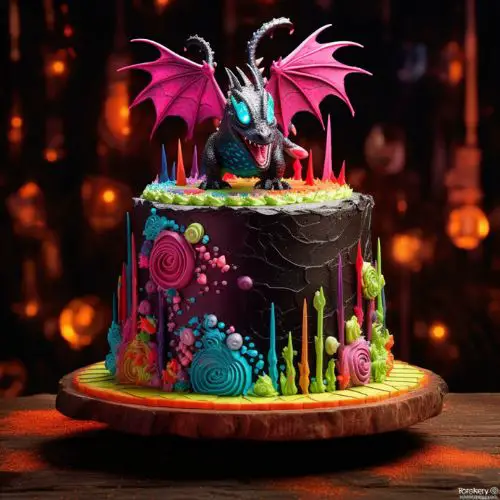
Toothless the Night Fury Cake
Model a black cake to resemble Toothless with his big green eyes and cute face. You can use fondant or black icing for the body and details.


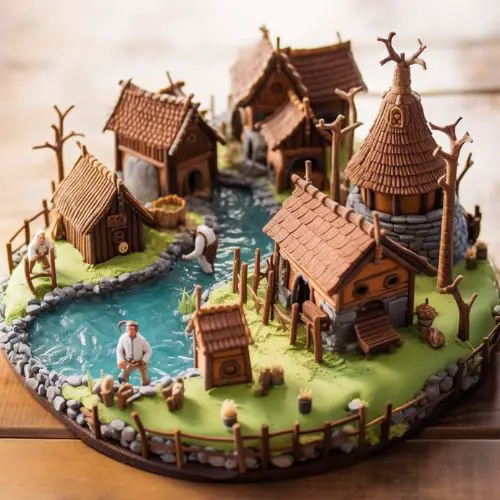
Viking Village Cake
Design the cake to look like Berk, the Viking village from the movie. Add little Viking huts and model dragons flying around using wire and fondant.


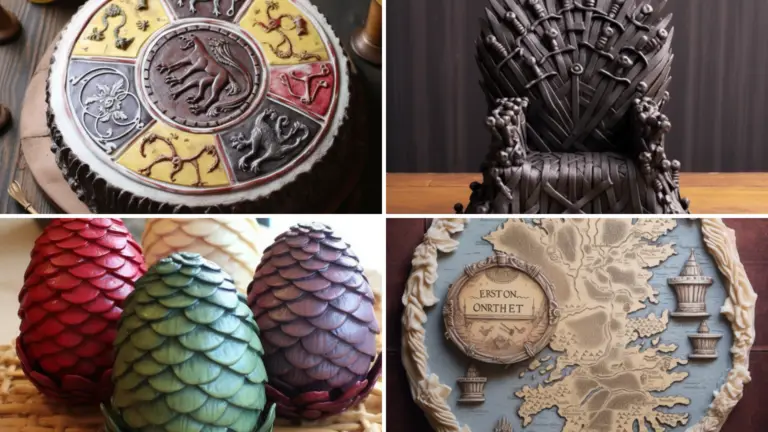
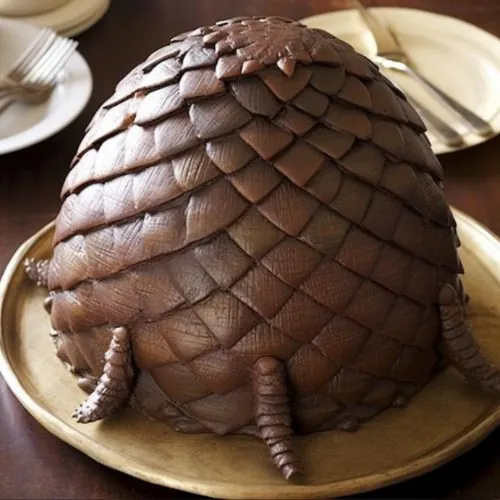
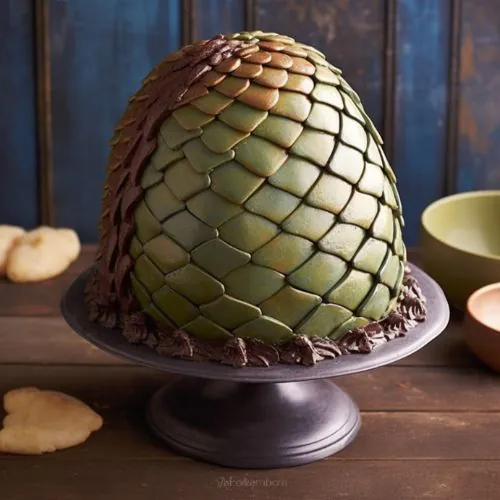
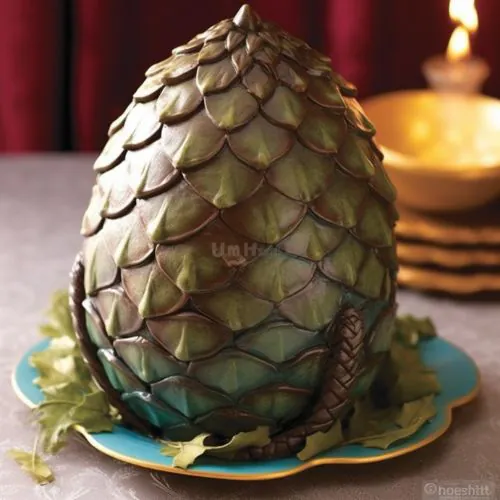
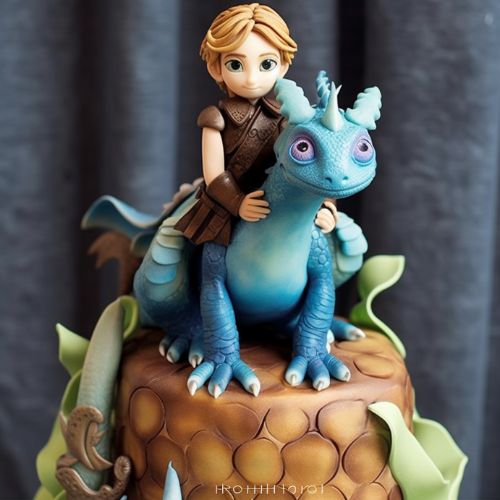
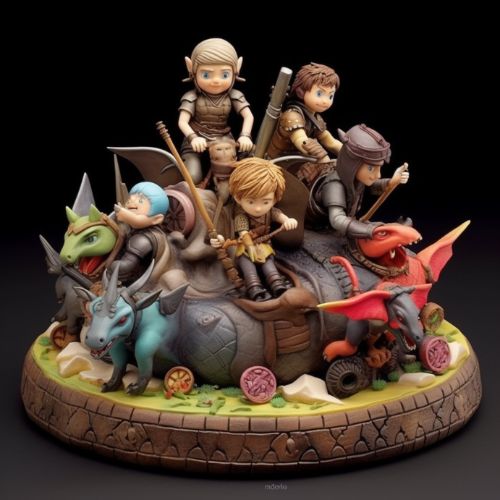
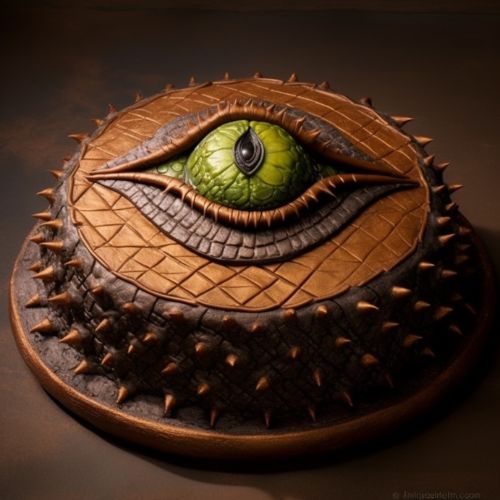
Dragon Egg Cake
Craft a large dragon egg cake using a rounded mold. You can add scale details using fondant. You could have colorful layers inside the cake to surprise the guests when cut.
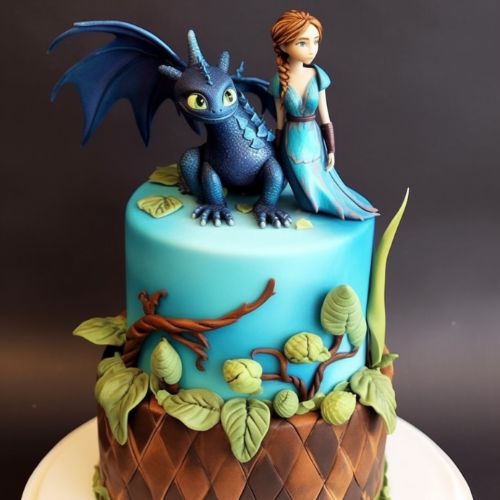
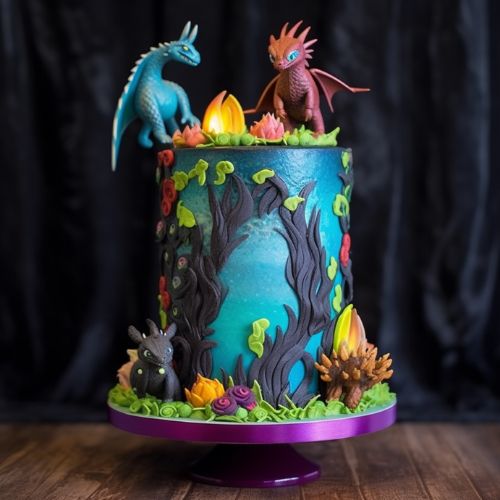
Astrid and Stormfly Cake
Create a cake featuring Astrid and her dragon Stormfly. This blue dragon’s unique details would make a lovely cake design.

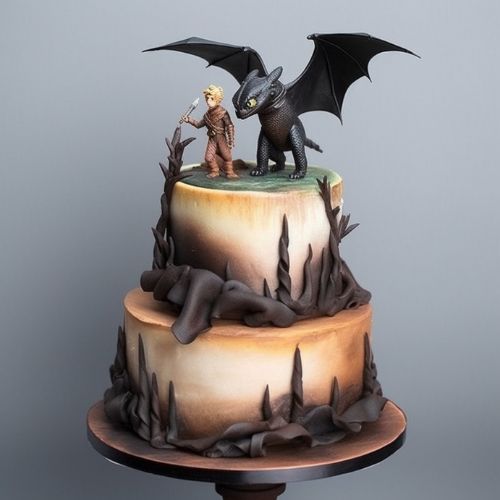
Hiccup and Toothless Flying Scene Cake
Using a multi-tiered cake, the top tier can showcase Hiccup and Toothless in a flying scene. You can use wire to give the illusion of them flying over the clouds (cotton candy or white icing).

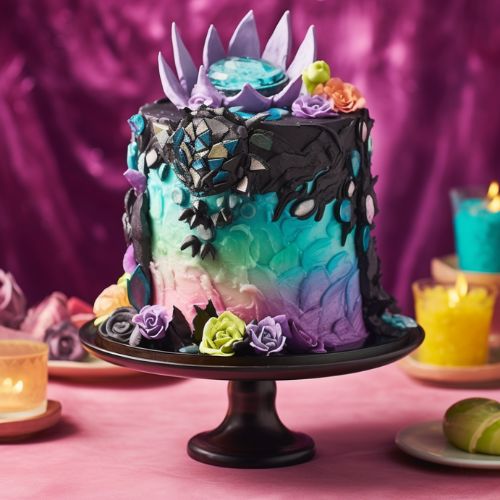
Hidden World Cake
Design a cake that represents the Hidden World from the third movie, with its glowing crystals and vibrant colors. Maybe even use edible neon coloring to make it pop.
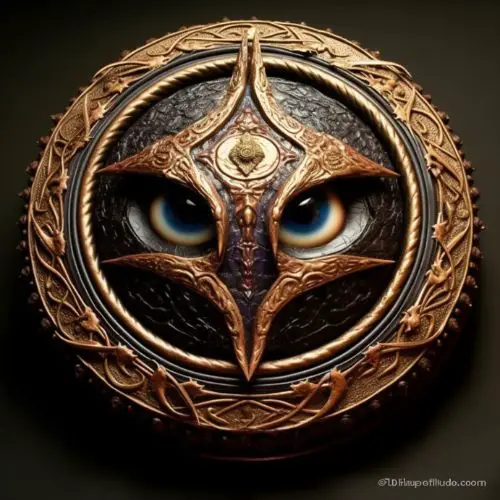
Viking Shield Cake
A simpler design could be a round cake resembling a Viking shield with dragon and Viking symbols.


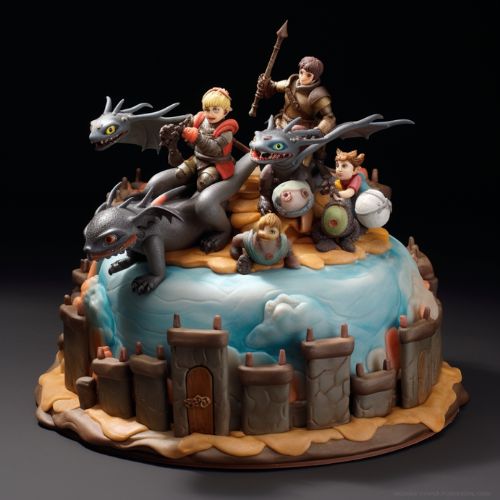
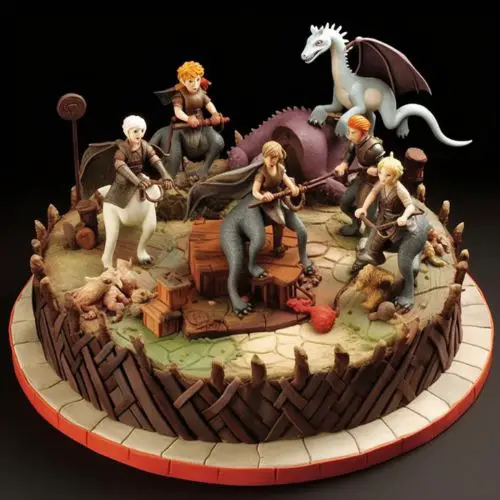
Dragon Races Cake
Depict the dragon racing scenes from the second movie. Model little figures of Hiccup, Astrid, and the others riding their dragons with sheep targets.
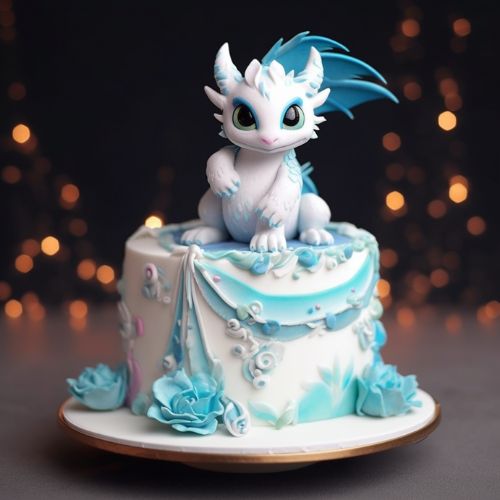
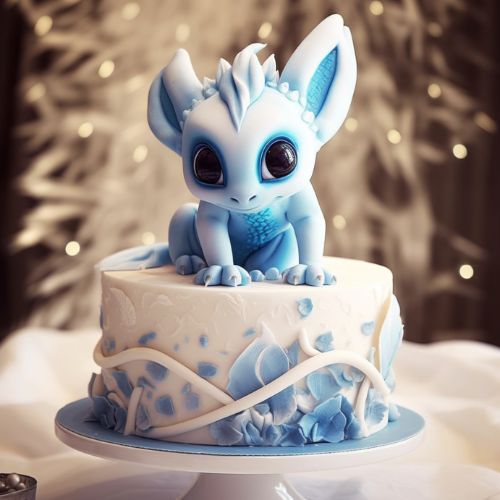
Light Fury Cake
With the introduction of the Light Fury in the third movie, she can have her own themed cake with her elegant white and blue design.

Dragon Eye of Viggo Cake
Design a cake based on the Dragon Eye, which holds the secrets of the dragons. It would be a round cake with intricate details resembling the artifact from the TV series.

How to make a dragon birthday cake?
Here’s a basic guide to help you make a dragon birthday cake.
Ingredients
- Your favorite cake mix (chocolate, vanilla, etc.) or homemade cake recipe
- Buttercream frosting or fondant in various colors (green, red, yellow, etc.)
- Edible food coloring (if you’re making colored frosting or fondant from scratch)
- Black licorice or fruit roll-ups (for details)
- Candy eyes or small white and black fondant circles (for eyes)
- Ice cream cones (for spikes or horns, if desired)
Instructions:
Bake the Cake:
-
- Prepare the cake as per the mix or recipe instructions.
- Depending on the design, you might need two round cakes (one for the dragon’s body and one for its head) or a sheet cake you can carve.
Shape the Cake:
-
- If you’re using a sheet cake: After it’s cooled, cut it into the shape of a dragon. The tail can be long and winding, and you can carve a section for the head.
- If you’re using round cakes: Use one as the body and cut the other to form the dragon’s head and tail.
Frosting:
-
- Apply a thin layer of frosting all over the cake. This is called the crumb coat, which helps to keep the crumbs from getting into your final layer of frosting.
- Place the cake in the fridge for 30 minutes to let the crumb coat set.
- Once set, apply a generous layer of colored frosting or fondant all over the cake.
Decorating:
-
- Use the licorice or fruit roll-ups to create details like scales, whiskers, or outlines.
- Use candy eyes or fondant circles for the dragon’s eyes.
- If using ice cream cones, you can attach them as spikes or horns. You might want to cover them with frosting or fondant to match the dragon.
- Use different colored frosting or fondant to add details like wings, bellies, claws, or any other features you’d like.
Final Touches:
-
- Consider using edible gold or silver spray for a shimmering effect.
- Coconut-tinted green can make great grass at the base of your dragon.
- Blue jelly can be used as water if the dragon is positioned as if it’s near a pond.
Presentation:
-
- Place the finished dragon cake on a large board or tray.
- You can decorate with themed items like treasure chests, knights, or castles.
Tips:
- Always ensure the cake is fully cooled before decorating.
- Use a serrated knife for carving, as it provides better control.
- If you’re unfamiliar with fondant, many online tutorials are available to guide you on how to roll, cut, and shape it.
This is a basic guide, and the possibilities are endless. Adjust according to your comfort level and creativity. Enjoy your dragon cake-making adventure!
How to make a toothless cake topper?
Making a Toothless cake topper can be fun and adds a personalized touch to your cake. This guide will use fondant, but you could also use polymer clay if you want a keepsake (note: polymer clay is NOT edible).
Materials:
- Black fondant (for the body, head, and tail)
- Small amounts of white and green fondant (for the eyes)
- Red or pink fondant (for the tongue and tail if desired)
- Edible glue or a bit of water (to adhere fondant pieces together)
- Toothpicks or thin wire (for internal support, if necessary)
- Small paintbrush (for details and applying edible glue)
Instructions
Body & Head:
-
- Start by kneading the black fondant until it’s pliable.
- Form an elongated oval shape for the body.
- Make a slightly larger oval shape for the head, then attach it to the body. You can use toothpicks or thin wire to ensure it stays in place; just ensure you inform whoever is eating the cake about them!
Legs & Tail:
-
- Create four small cylinder shapes for the legs. Attach two on each side of the body.
- For the tail, roll a thin piece of black fondant. It should taper at the end. Attach it to the back of the body. Remember, Toothless has a distinct tail fin, with one side being red (his prosthetic). Use red fondant for this detail.
Wings:
-
- Roll out some black fondant thinly and cut out the wing shape. Remember, Toothless has bat-like wings, so they should be somewhat triangular with a curve. Attach them to the top sides of the body.
Face Details:
-
- Eyes: Roll two small balls from the white fondant and flatten them slightly. These are the whites of the eyes. For the pupils, use tiny bits of green fondant and flatten them onto the white. Attach the eyes to the face.
- Ears & Fins: Use leftover black fondant to create small pointed shapes for Toothless’ ears and back fins. Attach them appropriately.
- Teeth: Use tiny bits of white fondant to create sharp teeth. Attach them around the mouth area.
- Tongue: Shape a small piece of red or pink fondant into a tongue shape and place it inside the mouth.
Finishing:
-
- Once you’ve assembled your Toothless topper, let it dry and harden, especially if you use fondant. This ensures it retains its shape on the cake.
Tips:
- If you’re not familiar with working with fondant, practice makes perfect! It’s like modeling with clay. If the fondant becomes too sticky, keep your hands clean and dust with some cornstarch.
- Make your topper a few days ahead, allowing it to dry and set properly.
- When you’re ready to place it on the cake, be gentle, and position it where you want without pressing too hard.